Forms
Table of Contents
Background
A form is an optional asset that users must complete when requesting access to catalogue items. It provides a predefined, structured interface for users to formulate formal requests. Instead of making informal requests via email or in person, users complete forms to provide all the necessary information for their requests to be considered and processed.
As each organisation has its own unique workflows and rules for resource allocation, customisable forms allow you to build request forms that perfectly align with your specific processes. You can create fields to capture exactly the information you need, ensuring all relevant details are collected upfront, reducing back-and-forth communication and accelerating the approval process.
Form Creation Prerequisites
Ensure that an Organisation is created.
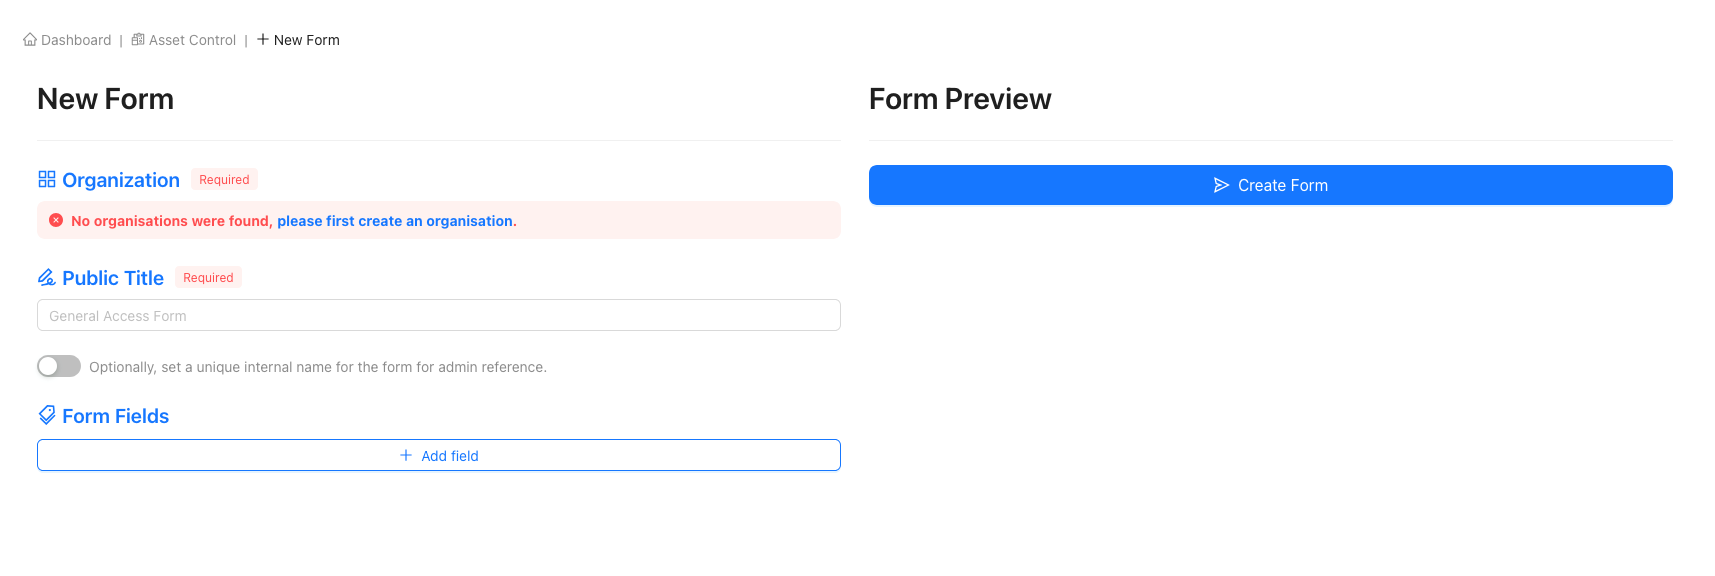
If you attempt to create a form as an owner without first creating an Organisation, you will receive an error
stating that no Organisations exist and you will not be able to create the form.
If you are a 'Platform Owner' and are unsure how to create an Organisation, follow the Creating New Organisations guide for
assistance.
Creating a Form
Navigating to the 'New Form' page


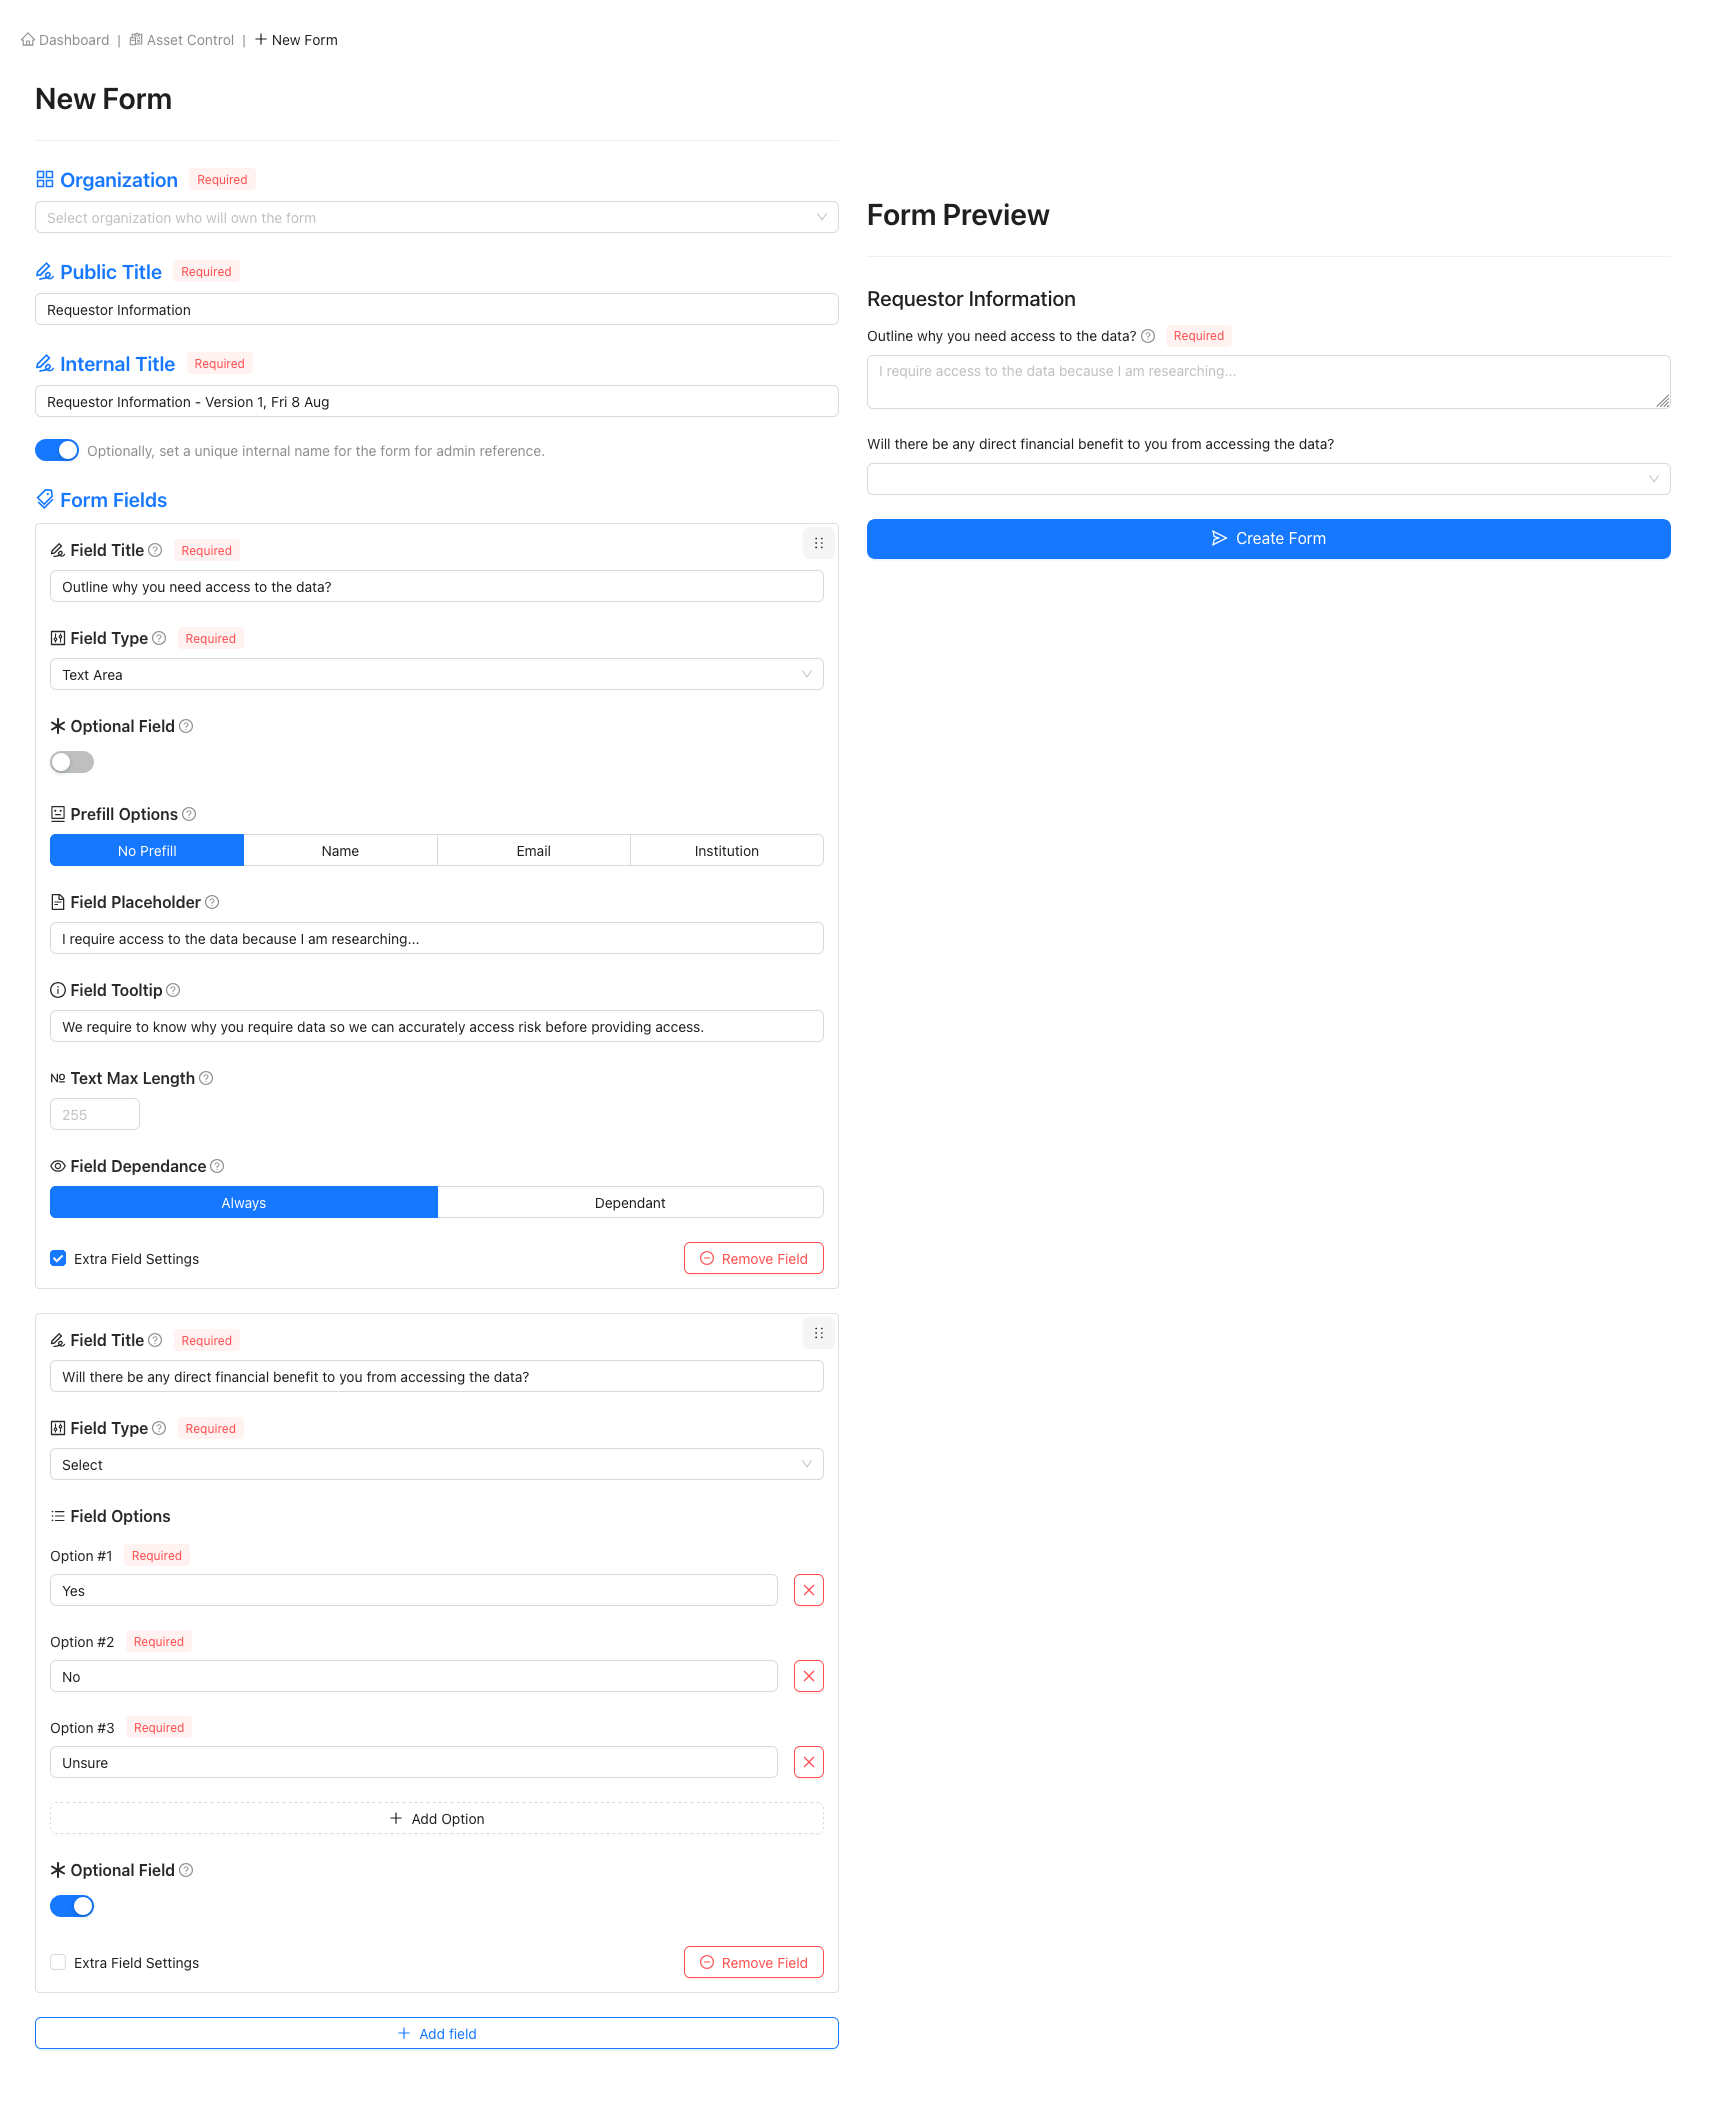
Choose a form public title
Ensure that this name is relevant!
The public title will be shown to users when they fill out the form as part of their application. For this reason, we urge you to ensure that this title is relevant to the information being requested within the form.

(Optional) Choose an internal form name
Setting an internal form name is optional, but it allows for admin-exclusive referencing such as versioning and dating. To set an internal name, click the switch beneath the public title to enable the 'Internal Title' input and provide your desired internal name.

Create your form elements by adding new fields
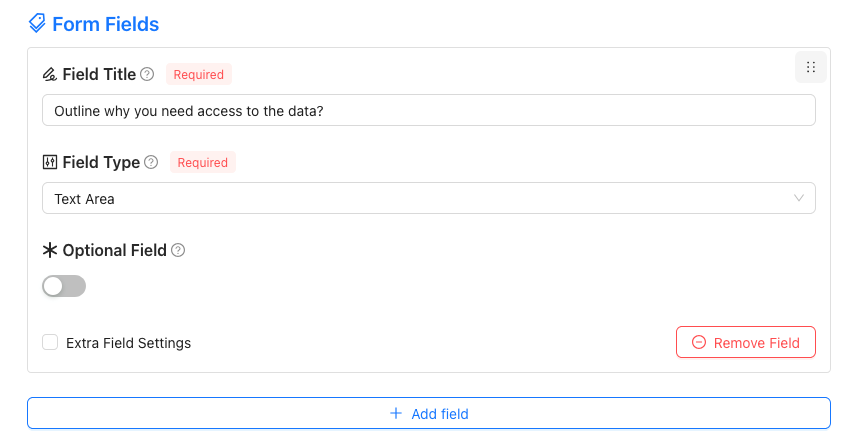
Add form elements to your form by clicking the 'Add Field' button. This will create a new form field for which you can then choose a field type and customise to your needs. To see a full list of each field type and what they each do within a form, view the form field examples section on this page.
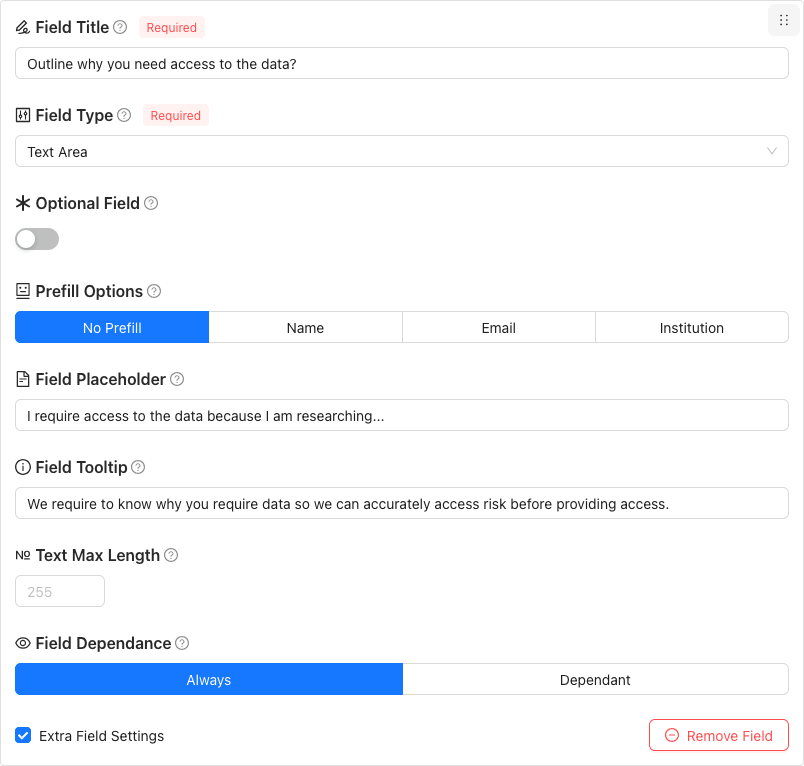
After choosing a form field type, you'll then be able to modify the field further, such as making the field optional and setting placeholders or tooltips. Repeat this step until you've created a form that fits your needs.

Check form preview to ensure form functionality
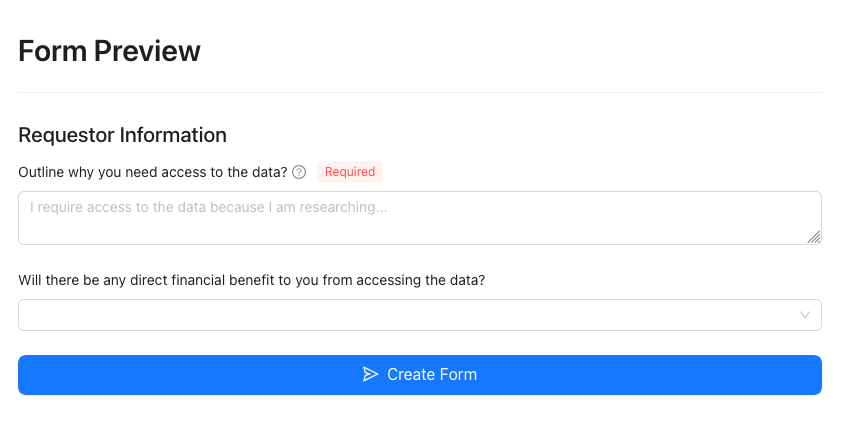
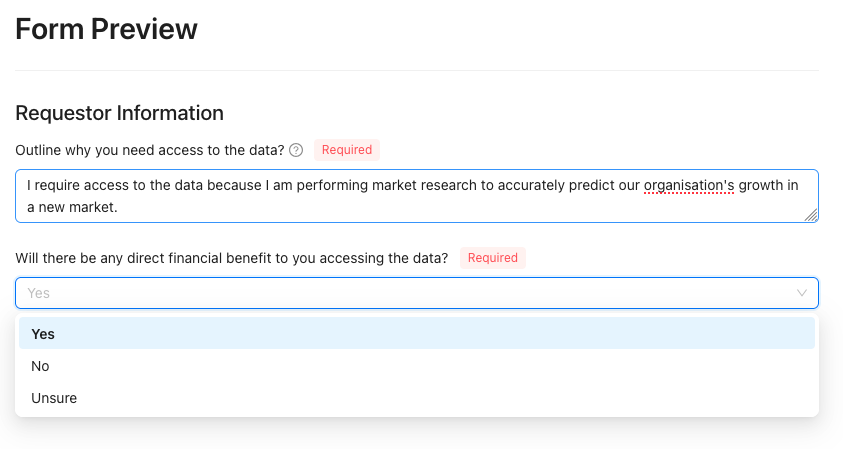
Finalize the form by pressing 'Create Form'

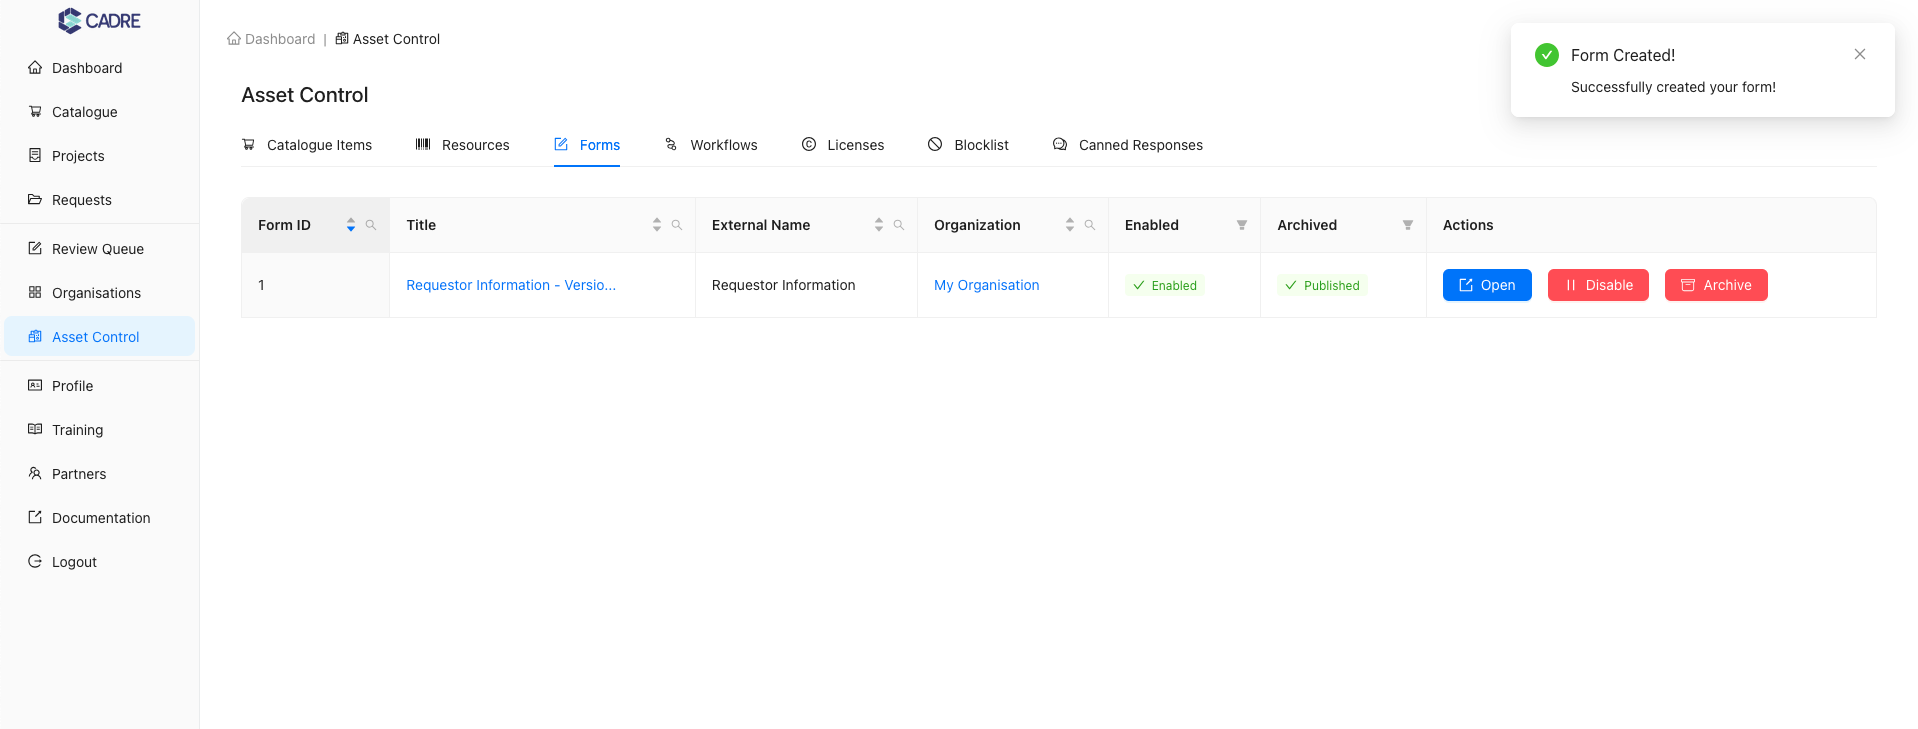
Successful form creation
Form Field Examples
CADRE comes with a number of form fields which allow you to construct a form fit for your Organisation's needs.
Select Example
Use an option list if you want the applicant to choose one of the given options. The ID-code is the identifier for the option. It is shown, for example, in reports, but the applicant will only see the label fields.
Example: You can put 'Y' as an ID-code for the Yes option and 'N' for the No option.

Multiselect Example
Use a multi-select list if you want the applicant to choose one or more of the given options.

Text Example
Text Area Example
Use this type of input if you expect longer responses from users.

Email Example
The email address field will validate the email address the applicant has provided.


Attachment Example
Applicants can upload files and add one or multiple attachments to submit as part of the form.


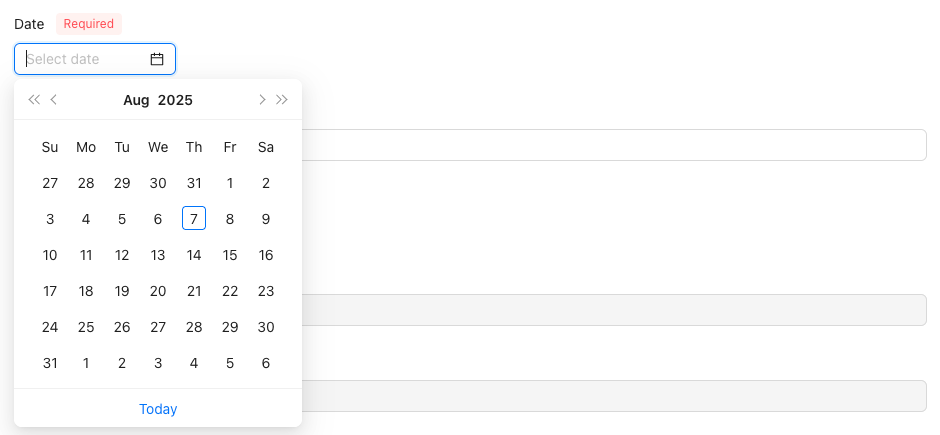
Date Example
IP Address Example
The IP address the applicant has provided in IPv4 or IPv6 formats will be validated. The IP address must not be within the known private range.


Country Example
The country field will validate that the form selection is a valid country (based on ISO ALPHA-2 country codelist) and render the options as a dropdown list.


Header & Labels Example
Consider using headers if you want to divide the application form into sections. Use labels as descriptive text if you want to give the applicant additional information, such as instructions, regarding particular fields.


